DIY & Crafts
DIY headboard: This easy and affordable hack only looks like a million bucks

Illustrations by Brendan Fisher | Wood and paint, homedepot.ca | Bedside tables, mattress, duvet, duvet cover and grey cushions, ikea.ca | Canadian Living bed skirt, bedbathandbeyond.ca | Art, jensennagle.com | Flowers, fiorioakville.com Image by: Angus Fergusson
DIY & Crafts
DIY headboard: This easy and affordable hack only looks like a million bucks
Want to transform the look of your bedroom? Inspired by board-and-batten siding, this headboard looks like a million bucks—on a way smaller budget. It's super simple to build and you can easily customize the size to fit your bed.
Materials
- Tape measure
- Table saw or handsaw
- 1/2-inch sheet of MDF
- 1- by 5-inch MDF board
- 1- by 3-inch MDF board
- Several 1- by 4-inch MDF boards
- Wood glue
- Clamps for drying (optional)
- Nail gun and nails
- Caulking gun and caulk
- Paint tray
- Paint roller and paintbrush
- Paint (We used Behr Ultra Pure White 1850)
- Level
- Screwdriver and screws
- Wood filler
- Sandpaper
STEP 1

Measure the width of your bed. Using the saw, cut the sheet (A) so it's 4 inches wider than the bed— this was 57 inches for us—and 66 inches long. (We had ours cut to size at The Home Depot.) Cut the 1- by 5-inch board (B) the same width as the sheet. Cut the 1- by 3-inch board (C) 4 inches longer than the width of the sheet, which was 61 inches for us.
STEP 2

Place the boards horizontally on top of the sheet so they're flush.
STEP 3

Measure from the bottom of the 1- by 5-inch board (B) to the bottom of the sheet. Cut four 1- by 4-inch boards (D) to the same length. Place them vertically equidistant on the sheet.
STEP 4

Create a grid by cutting remaining 1- by 4-inch boards (E) to fit horizontally between the vertical boards.
STEP 5

Glue each board in place on the sheet; let dry. Using the nail gun, secure each board in place. Caulk any edges (if you see gaps); let dry.
STEP 6

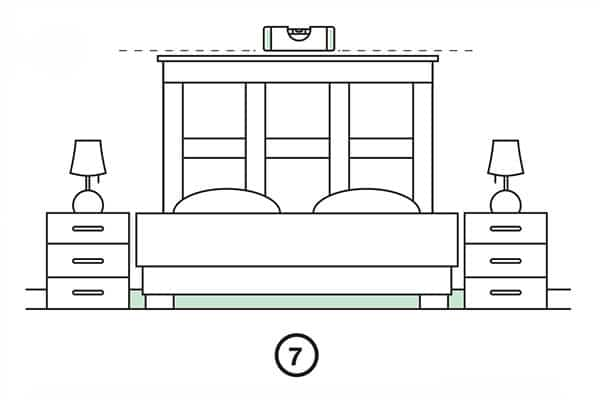
Paint the headboard. To make it easier to paint the sides, elevate the sheet on scrap pieces of wood.
STEP 7


Comments