DIY & Crafts
Carrot treat bags for bunnies

Photo courtesy of: Aurelie Bryce Image by: Photo courtesy of: Aurelie Bryce
DIY & Crafts
Carrot treat bags for bunnies
You Will Need: (makes 2 treat bags)
• 2 fat quarters of coordinating fabric
• Scissors, thread, pins
• Templates
• Candy

Here's How:
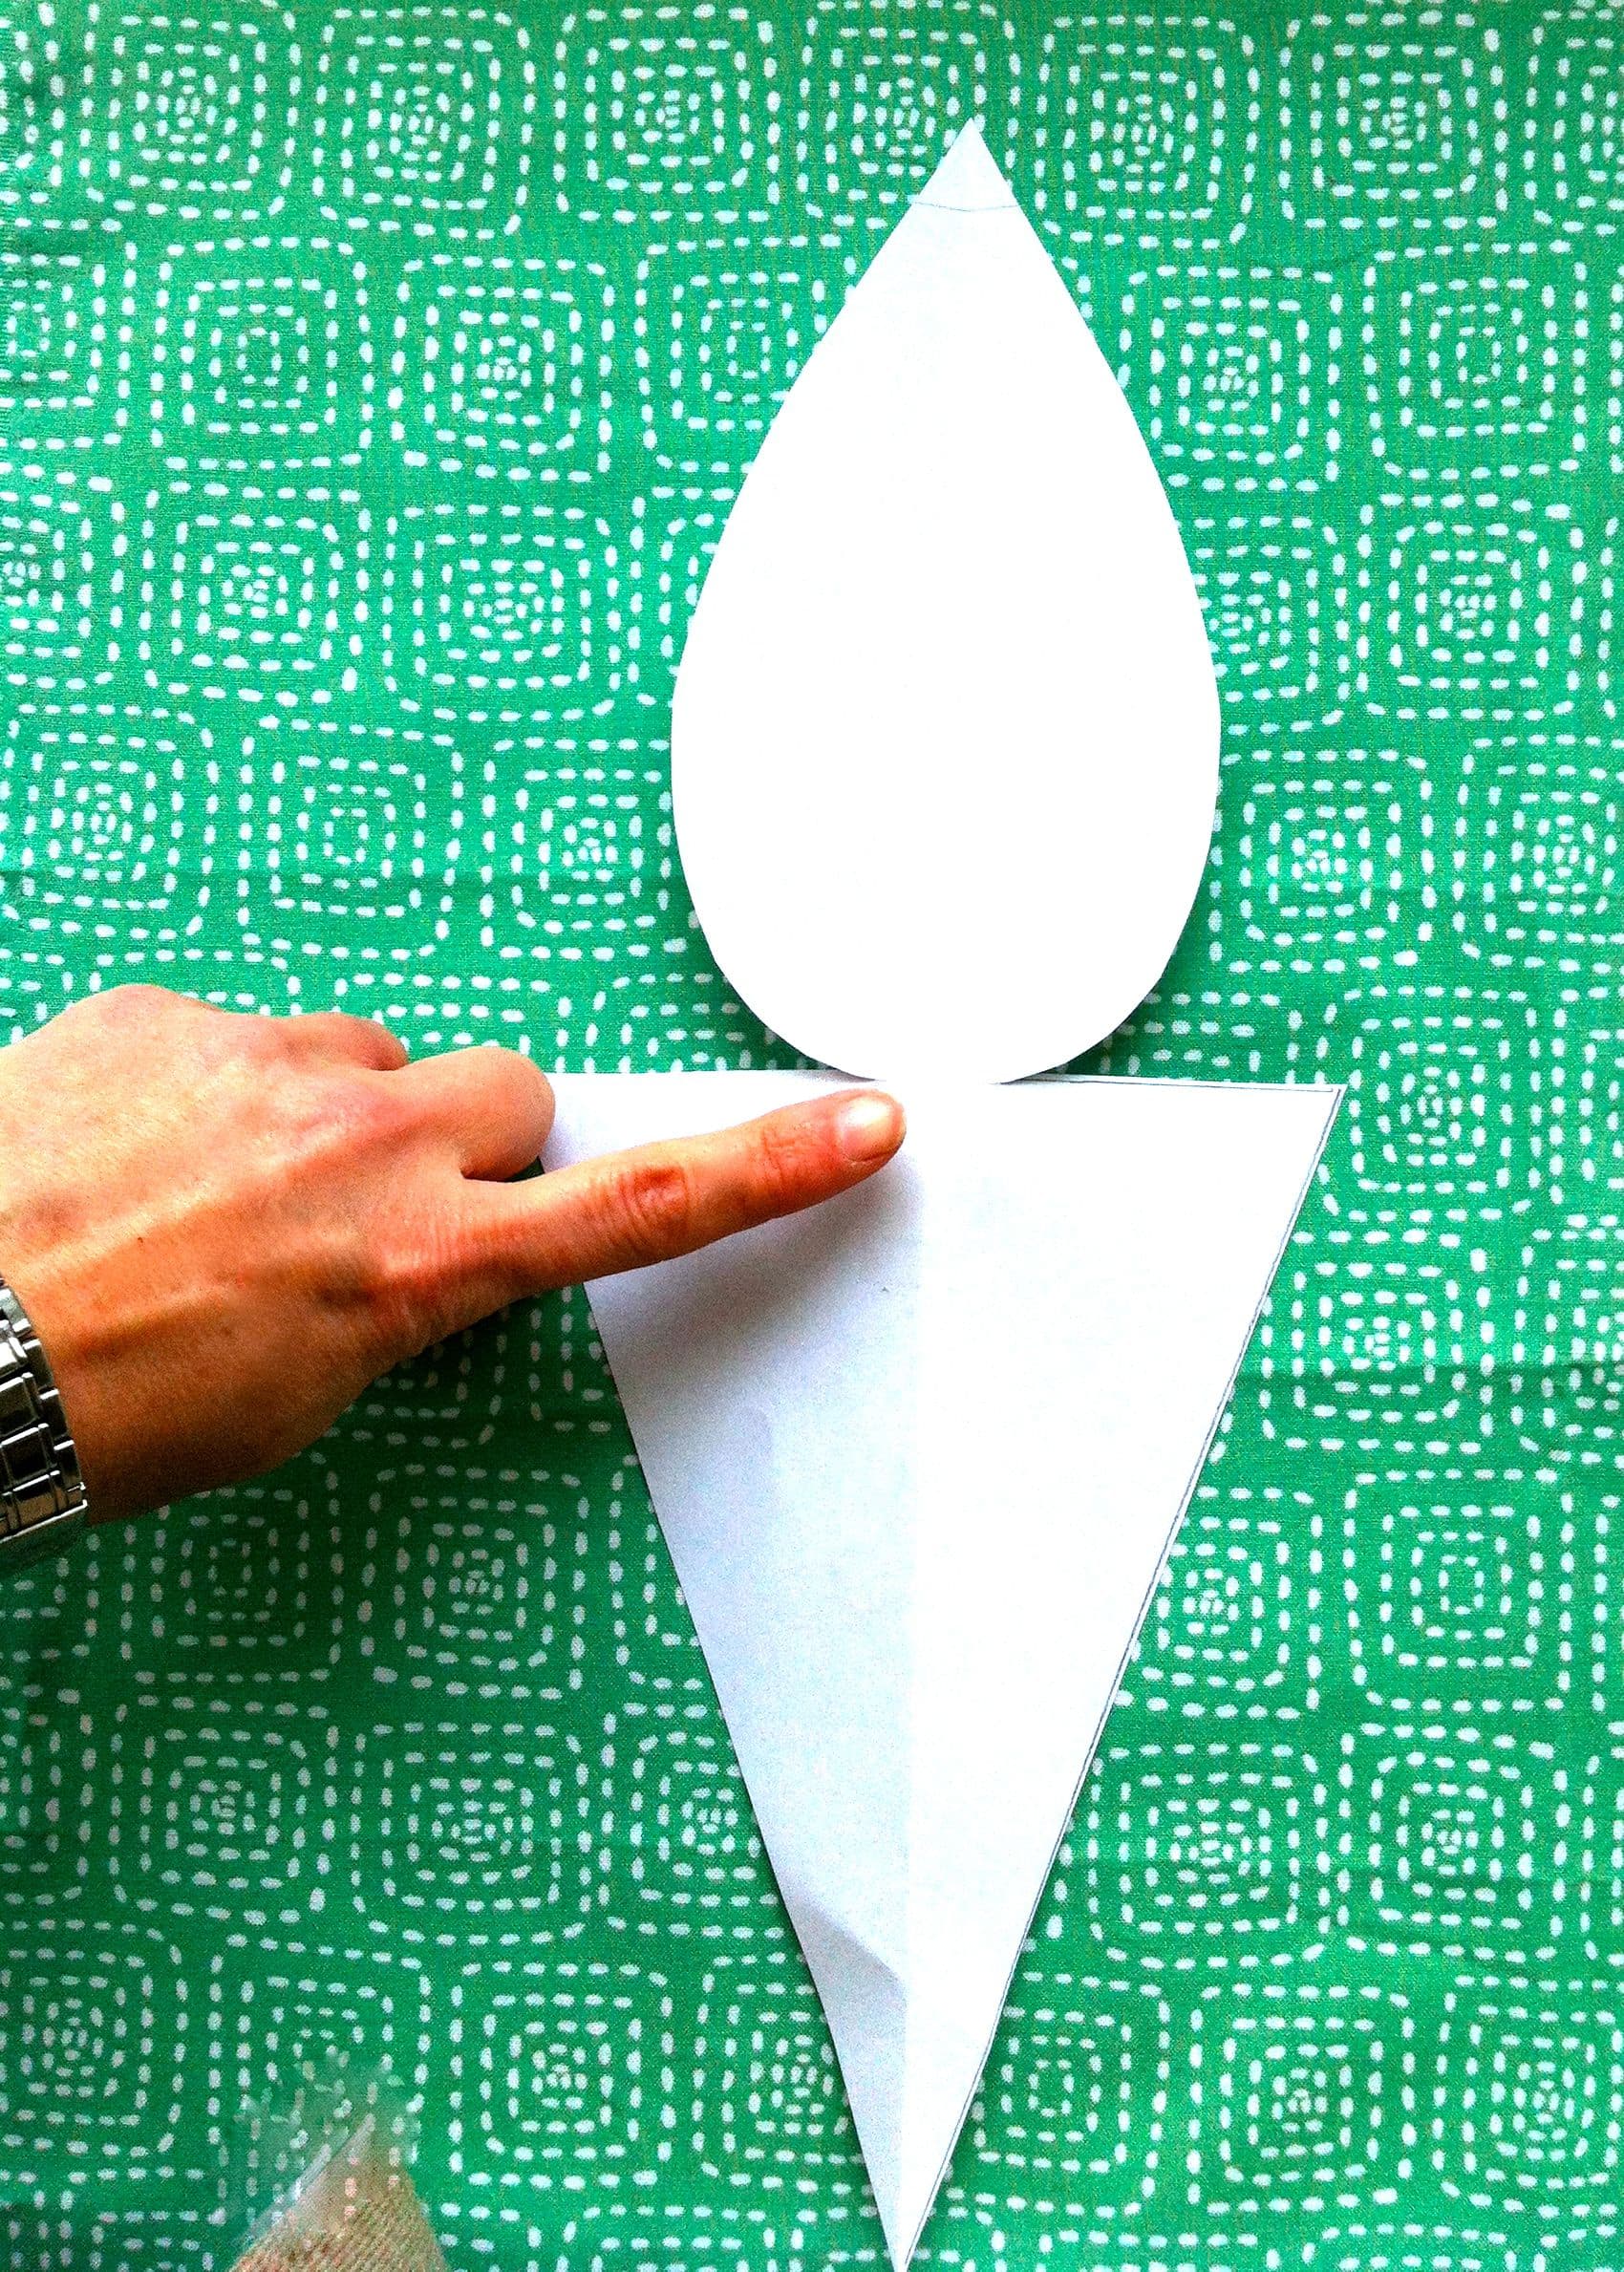
Download the carrot and carrot top templates. Fold each in half and crease down the middle before taping the two pieces together at the middle line.

Fold the template in half and lay along the fold of fabric. Trace outline or pin template to fabric.

Cut two carrots from the lining and two from the outer fabric.

Pin lining to outer fabric with right sides facing. Repeat with other carrots.

Sew along the top of the carrot, around the leaf and across the other top side.

Sew 1-2cms up from carrot top to leaf to create a ‘neck’ between the two areas. Repeat with other carrot.

Pin carrot bottoms together, lining-to-lining and outer fabric-to-outer fabric. Move leaves out of the way.

Starting midway along the lining, start sewing around the carrot bottoms and stop leaving a 2” gap in one side of the lining.

Snip all the corners in the carrot bottoms and leaves.

Clip the curves along the fat part of the leaves and clip notches into the corners of the ‘neck’ part, taking care not to clip your seams.

Turn right side out, using a chopstick or point turner to push out the corners.

Close the gap in the lining

(optional) Sew or embroider details into your leaves.

Ta da!

Fill with candies (you may want to tuck a plastic bag inside to act as a liner) and tie the leaves to close the bag.

If you're looking for more Easter crafts, check out our DIY dyed Easter eggs with a twist.
• 2 fat quarters of coordinating fabric
• Scissors, thread, pins
• Templates
• Candy

Here's How:
Download the carrot and carrot top templates. Fold each in half and crease down the middle before taping the two pieces together at the middle line.

Fold the template in half and lay along the fold of fabric. Trace outline or pin template to fabric.

Cut two carrots from the lining and two from the outer fabric.

Pin lining to outer fabric with right sides facing. Repeat with other carrots.

Sew along the top of the carrot, around the leaf and across the other top side.

Sew 1-2cms up from carrot top to leaf to create a ‘neck’ between the two areas. Repeat with other carrot.

Pin carrot bottoms together, lining-to-lining and outer fabric-to-outer fabric. Move leaves out of the way.

Starting midway along the lining, start sewing around the carrot bottoms and stop leaving a 2” gap in one side of the lining.

Snip all the corners in the carrot bottoms and leaves.

Clip the curves along the fat part of the leaves and clip notches into the corners of the ‘neck’ part, taking care not to clip your seams.

Turn right side out, using a chopstick or point turner to push out the corners.

Close the gap in the lining

(optional) Sew or embroider details into your leaves.

Ta da!

Fill with candies (you may want to tuck a plastic bag inside to act as a liner) and tie the leaves to close the bag.

If you're looking for more Easter crafts, check out our DIY dyed Easter eggs with a twist.


Comments